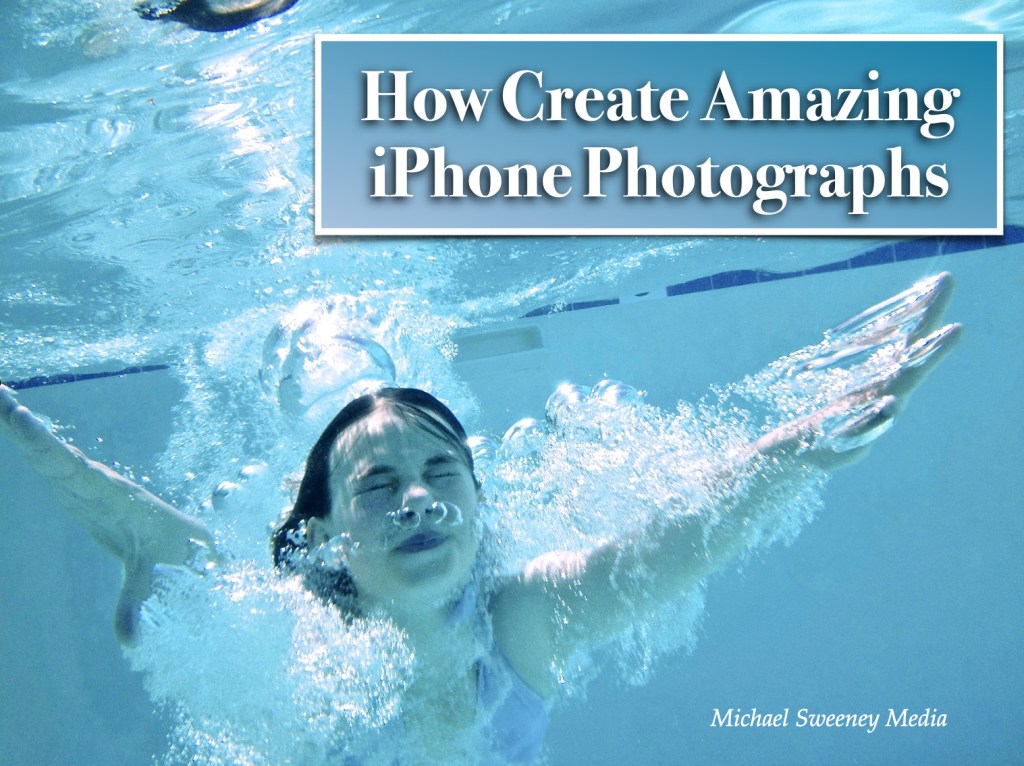
The iPhone is an amazing tool. It is a phone, a database, a web browser, a camera, a video recorder and more. But this amazing array of features may overshadow the iPhone’s arguably greatest feature: its camera’s ability to capture a moment in time.
This book will teach you how to use the iPhone camera in ways you never dreamed, to fully capture the moment and to create amazing photographs. You will learn about the basics of crafting images with the iPhone but also about interesting options such as infrared and underwater photography. You will see how to perform high-speed panning to capture a subject in motion and produce stunning images. You will learn about securing your meta data and iCloud. And finally you will learn about backing up your data.
This was my “How to Create Amazing iPhone Photographs book” from 2013. This was a book that showed what you could do with an iPhone if you used some creative thinking and didn’t get stuck with the idea of “its just a cellphone camera”. I charged the grand sum of 2.99 for a copy and it failed miserable. People thought being so cheap, it was a useless book. Or they did not want to learn this type of knowledge. Or I was lousy at marketing. In the passing years, I’m kinda of glad I didnt stay with it. While the iphone has kept the camera in the same place and working the same way, the software has changed tremendously over the past years. Things that were hard to do like getting a shallow depth of field is now laughably easy to accomplish AND you can change it after the fact. Keeping up with the changes would have been a never ending task. So today I’m using quite a bit from my book and adding some new stuff as a fun blog post for all of you to enjoy and maybe learn a trick or two.
“The enemy of art is the absence of limitations.” ~ Orson Welles
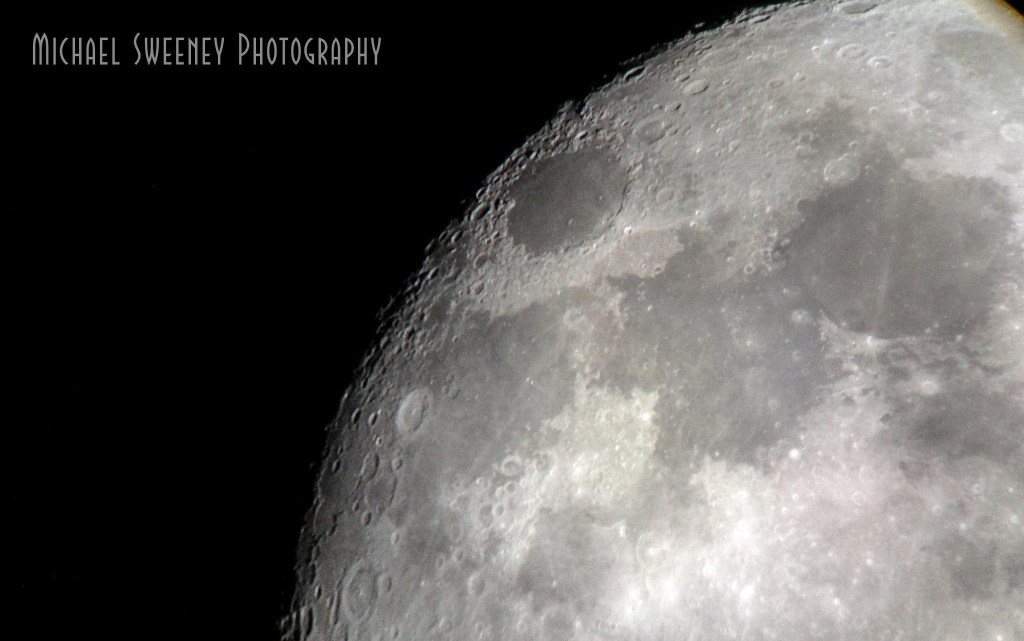
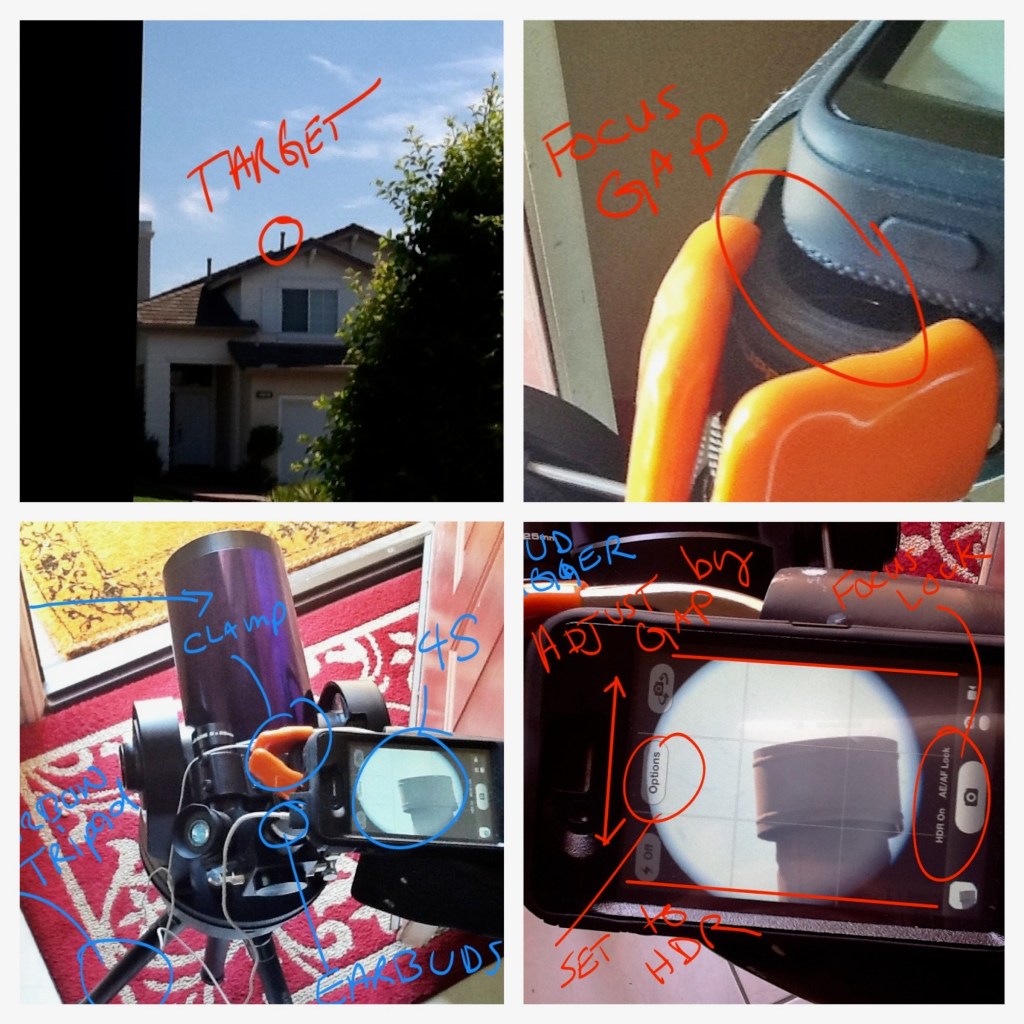
On the plus side, I learned ALOT about self publishing with this book. It was my 2nd self published book. My first was even more of a niche market item. Network Security Using Linux. I did try to shoot for the mass market ;). But with the photography book, it was certainly a passion fueled vanity project. I was able to show off pictures taken with my then 4S and 5S phones. These pictures rivaled DSLRs. They showed that gear is not the limitation. Take this shot as an example, it was taken with an iphone 4S through the eye piece of a “cheap” home telescope. I had more than a few people call me a liar and that there was not any way that could be true. This was of one the events that lead me to writing the book. I reproduced the entire process of how I did it complete with some tricks like using the headphone cable volume control as a remote trigger.
This image of moving water was taken at high noon at Disneyland. Normally you can not do this with an iPhone because you have zero control over the shutter speed. And even if you did, the slow shutter would over-expose the image. So what is a person to do? Think creatively!! get a small ND (neutral density) filter and using gaffers tape, tape it onto the phone and over the camera lens. Presto, the phone thinks it’s MUCH darker and slows the shutter down to get enough light for a proper exposure. By using this trick and a manual camera app like ProCamera, you now have the same creative control. This is the control that DSLR users typically have. Just because you do not have threads or interchangeable lenses doesn’t mean you can’t use the same tricks as the big boys.
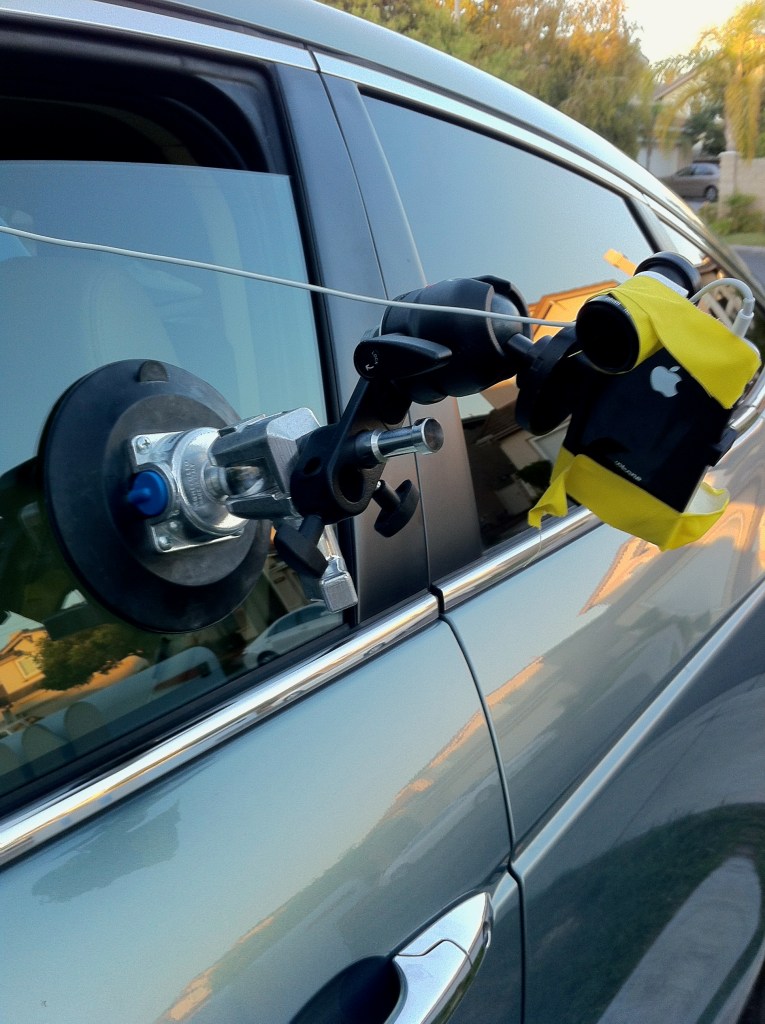
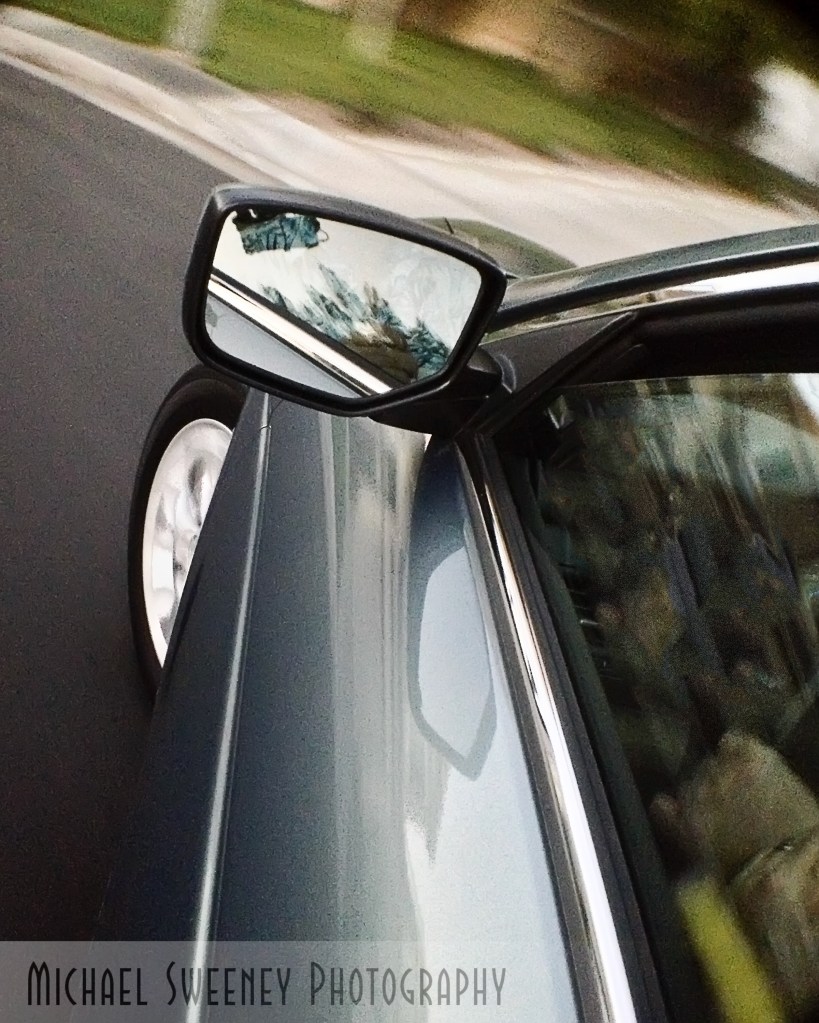
A very simple trick that any smartphone can do is a motion blur action shot. What is that you ask? That is where the subject is moving but in focus while everything else is blurred. You need to lower the shutter speed a bit for this to work well. The good news is that inside almost any building will be dim enough for this to work. Outside, you will need to use the ND filter hack I talked about earlier. The first image is inside a building and all you need to do is match the speed of the subject as you take the shot while in motion. The 2nd shot was a structured shot with rigging and gaffers tape. I used my favorite remote trigger which was the earphone volume button.
When smartphone photography comes up in discussion, one of the mantras repeated over and over is “it’s not real camera”. So lets unpack that a bit. Real Camera? what the heck is that really? A camera is just a box with a hole that lets in light onto a “film” or substrate that captures the image. So I think what people are really saying is a smartphone can not make pictures like they see in magazines or on TV with strobes, special lighting, special effects and so on.
For my example here, this was a single LED light bank, a dark room ( garage actually), a water spray bottle and a bit of post processing to “gritty up” the image.
Please note the dark background, the catch light in the eye, a bit of sheen on the skin and a gritty look. All hallmarks of a “real camera” portrait. The newest generation of the iPhone is even better now with “Portrait Mode:” which lets you readjust the F stop blur effect after you take the picture to really dial in the “Boka” or blur as we used to call it.
This next set of portraits is what many think of when you say “studio”. This was using continuous lighting and was a very traditional studio set up. As you can see, the iPhone 5S (this was some time ago) did not have any issues in taking this image. Post processing to adjust colors and add a bit of texture which would have been anyways regardless of which camera had been used. In retrospect, I would have added a reflector to splash a bit of light in to the male model’s face to lessen the shadows on the eyes. But that hindsight for you.
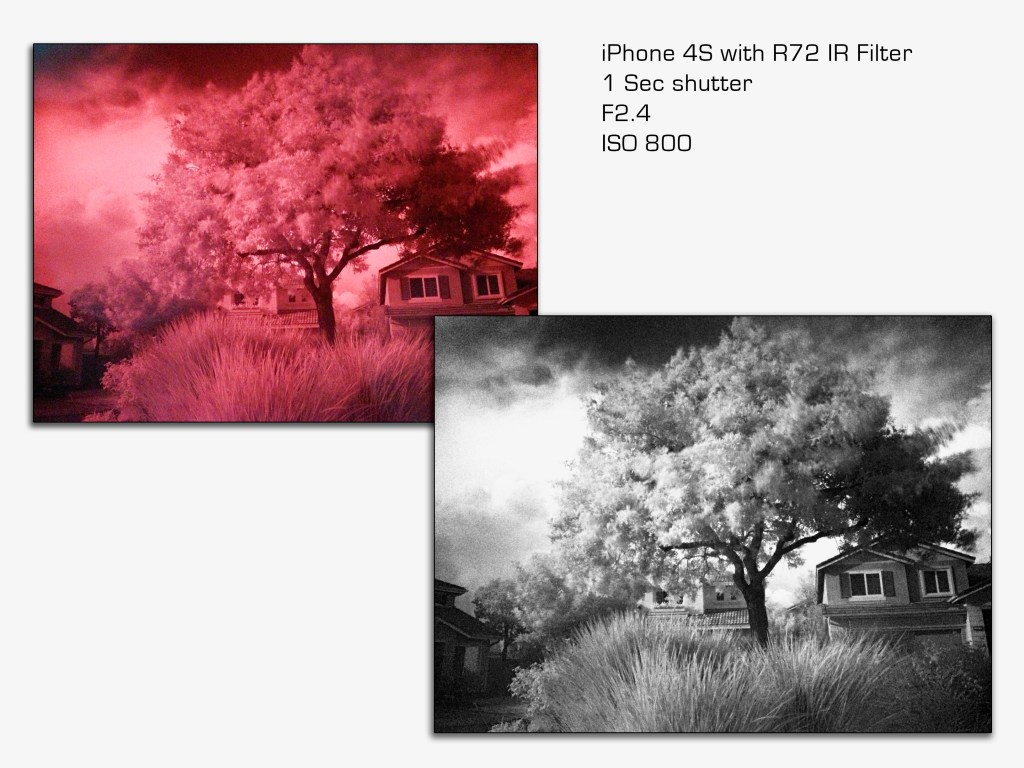
Did you know that you can actually get a real infrared ( IR) look on a smartphone without having to use IR film. There is a special filter one can buy called an R72 that filters out all light except the IR. Now, the camera sensor has a filter to filter out IR light over the sensor so you have competing interests at play here. The good news is the IR filter over the sensor is not 100%. So use the R72 and a lonnnnng exposure and you will end up with an “IR” image. It will look red and ugly until you post process it.
Another topic that got some very pointed discussion in my book was printing. OMG.. People go off about how you cant print from a smartphone file because it’s “only” 12 megapixels or its so small in size and on and on. My first digital camera was “only” 3.1 megapixels and I paid 999 USD way back in 1999 for it. And it did just fine on 8×10 prints. Its really not the “megapixels”, it’s the dots that make up the image and the viewing distance. You are not printing a 32 inch wide landscape and then viewing it from 6 inches away. You will be standing about 4-8 feet away. What the megapixel does bring to the table is the ability for the photographer to CROP the image without losing image quality. It also allows capture details that would get a bit muddy. The old school 8×10 film cameras could capture and insane amount of details. My M200 with a 24 megapixel sensor can take amazing pictures even after cropping. And that is one of the weakest points of a smart phone camera but not the fatal one people rave on about.
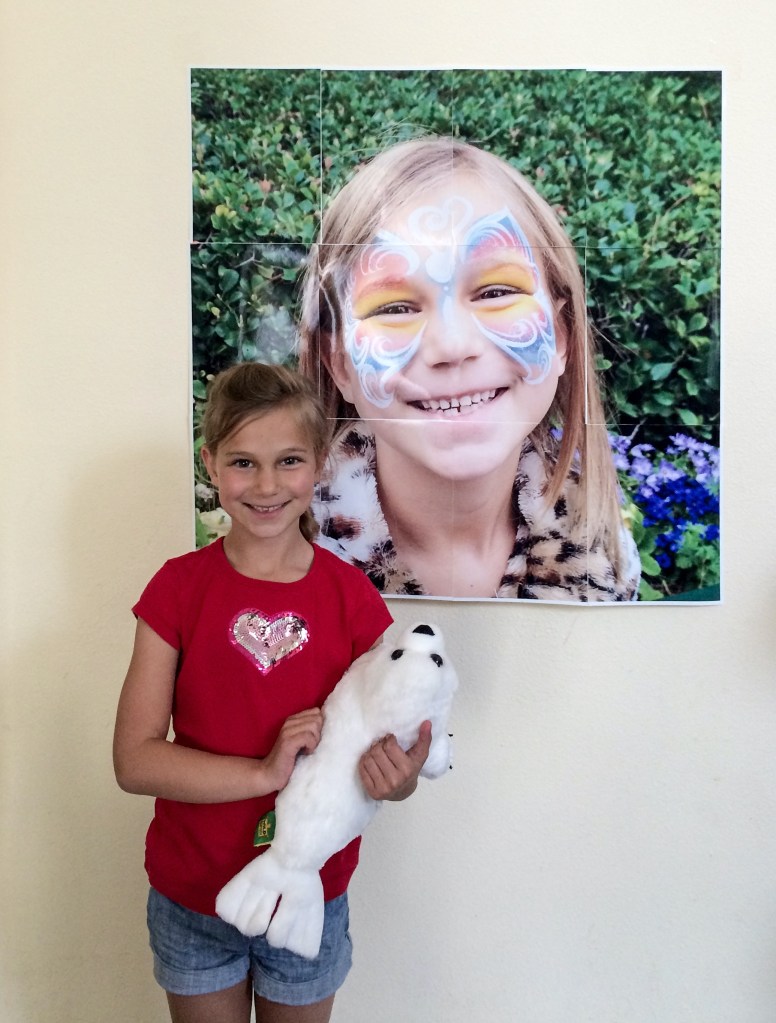
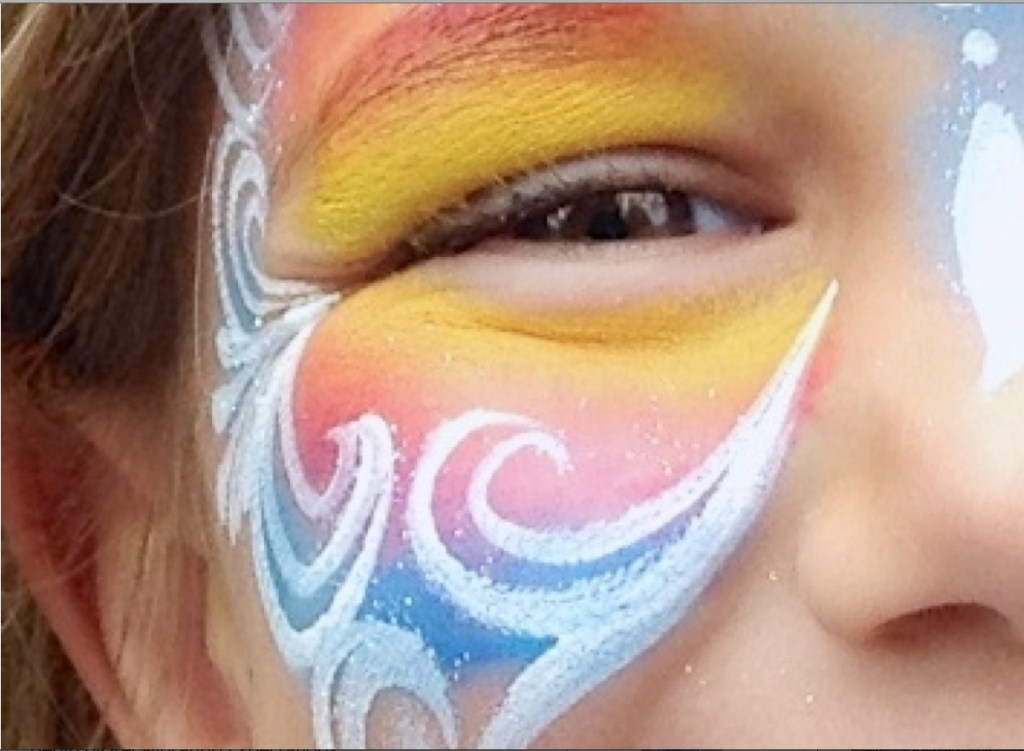
To carry this to an extreme, in my book I showed how I could print a 3 foot by 3 foot image AT HOME with an ink jet printer and a picture from my 5S iphone which was not state of the at even then. The online service is called BlockPosters.
These two images show the final product and a close up of one of the 8×10 panels so you can see the print quality. Since my print would only print up to a 13 inch page, I went with 8×10 panels and taped them together on the back side. This was done online where you feed the image into an online tool and the tool spits out a dozen PDF files that you print out and tape together. There are several ways to do this now ranging from Adobe Acrobat to online tools.
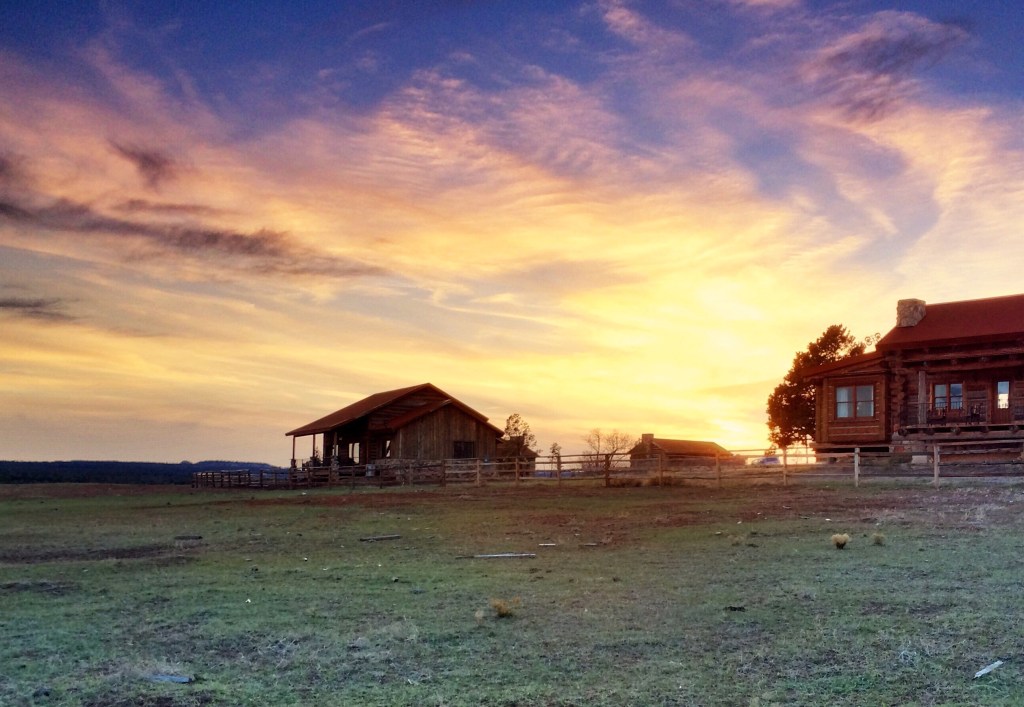
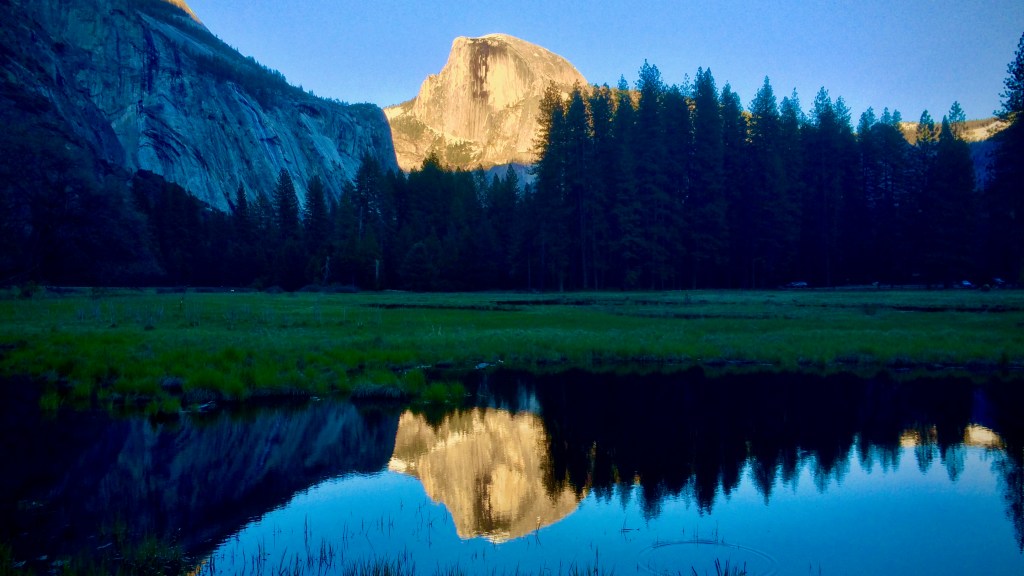
Lets talk about landscapes. Many would have you believe you cannot shoot a landscape with a smartphone that is any good at all. Again, it’s all about size and viewing. Below are three images I have taken with smartphones. The first one is in Zion Utah. The next image was taken in Yosemite of El Capitan right at dusk when the last of the sunlight was illuminating the rocks and everything else is in shadow. The third image is a pano made at Bryce Canyon Utah. The Black and White image is an homage to Ansel Adams who made spectacular images in BW.
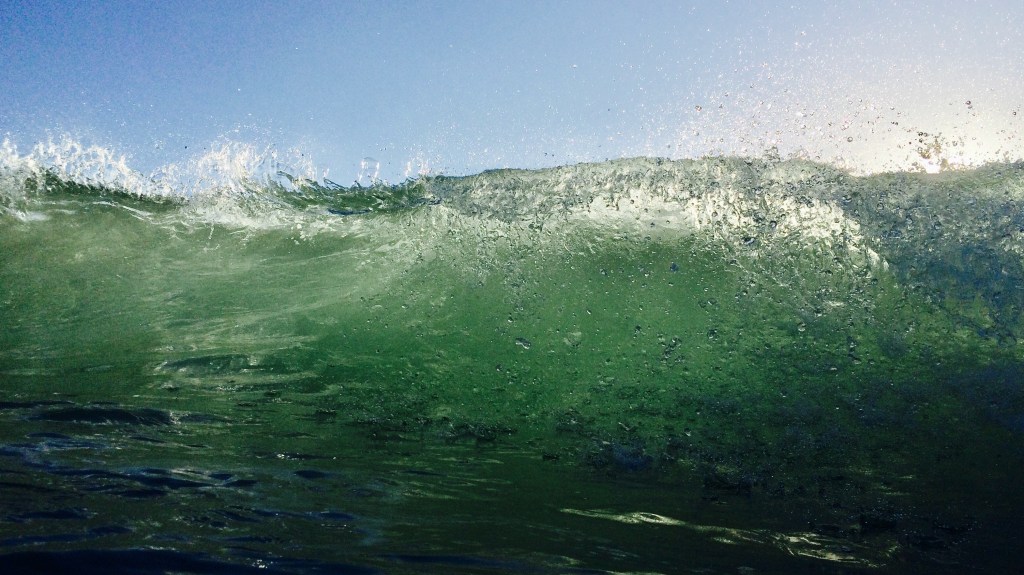
Some of my favorite “myth busting” with my iPhone was getting in water and underwater pictures. There are several styles of softside and hard shell underwater cases. They have pluses and minuses but man do they open up possibilities. Underwater photography used to be very hard and very expensive. Now you can buy a case for 100 USD for your phone and the computer takes care of much of it. The gallery below shows off some samples of being in the ocean and under water. The same rules apply in water, to stop the action, you need a high shutter speed, water is highly reflective so adjust your exposure and underwater can be pretty dim so crank up the ISO. Post process plays a key role in making effective attention grabbing images when dealing with water.
I hope you can see by now that a smartphone is just as capable as any “real” camera and it really is a “real” camera. The trick is to think creatively on how to use your camera and how to get around perceived limitations. This really isnt any different than the early days of photography when the photographers didnt have all the tech and gadgets we have today. They were very creative in how they came up with solutions to get the image they wanted with the tools at hand.
CAUTION!!!! I covered this in my book and even today this doesnt get enough attention from the “experts”
Security!!! By default, smartphones will geo-tag your images. There is a wealth of information attached to your pictures ranging from what camera settings where used to actual locations using GPS or other location services of where the picture was taken. When you share images, you need to make sure that data is stripped off. More importantly, when you upgrade the phone, do NOT give it away with the data intact. As part of my book, I bought two used phones. One private party and one from a “refurbisher”. The phone from the private party had not been wiped. I had ALL of their pictures and mapping data showing where they lived, where they went to school and so on.
My final notes that I had in my book are even more valid today. Battery life. There are ways to manage the battery life while taking pictures. Check out the list below for some tips. Bring a brick.. Always bring a brick. Nothing is worse than running out of battery when you really wanted to get some pictures.
Think smart – place the iPhone into airplane mode
At least turn off blue-tooth and WiFi
Dim the display
Staying in airplane mode will speed up recharging
Bring a pocket booster or get a battery case
Keep your iPhone cool as possible, heat is not a friend


Leave a comment