When you say creative thinking, people think about writing a best seller or some fantastic DIY missive about rebuilding your house on a ten dollar budget.
Something creative thinking is how you solve a daily problem to help you in the long term.
Take the act of cleaning one’s car. This can run from the OCD super detailer that has spent more on tools and lotions than he paid for the car. Or it can be the person who decided, out of sympathy or shame, to run the car through the cheapest car wash. This might be their first time in years. Or something in between.
I fall somewhere in the middle of this spectrum. I am a native son of California. It’s been genetically programmed that a clean polished car 365 days a year is a god given right. Very unlike my friends in the hinterlands of snow and salt country.
We auto detailers view the world somewhat differently than the average driver. We are obsessive over details. We love gadgets and special solutions.


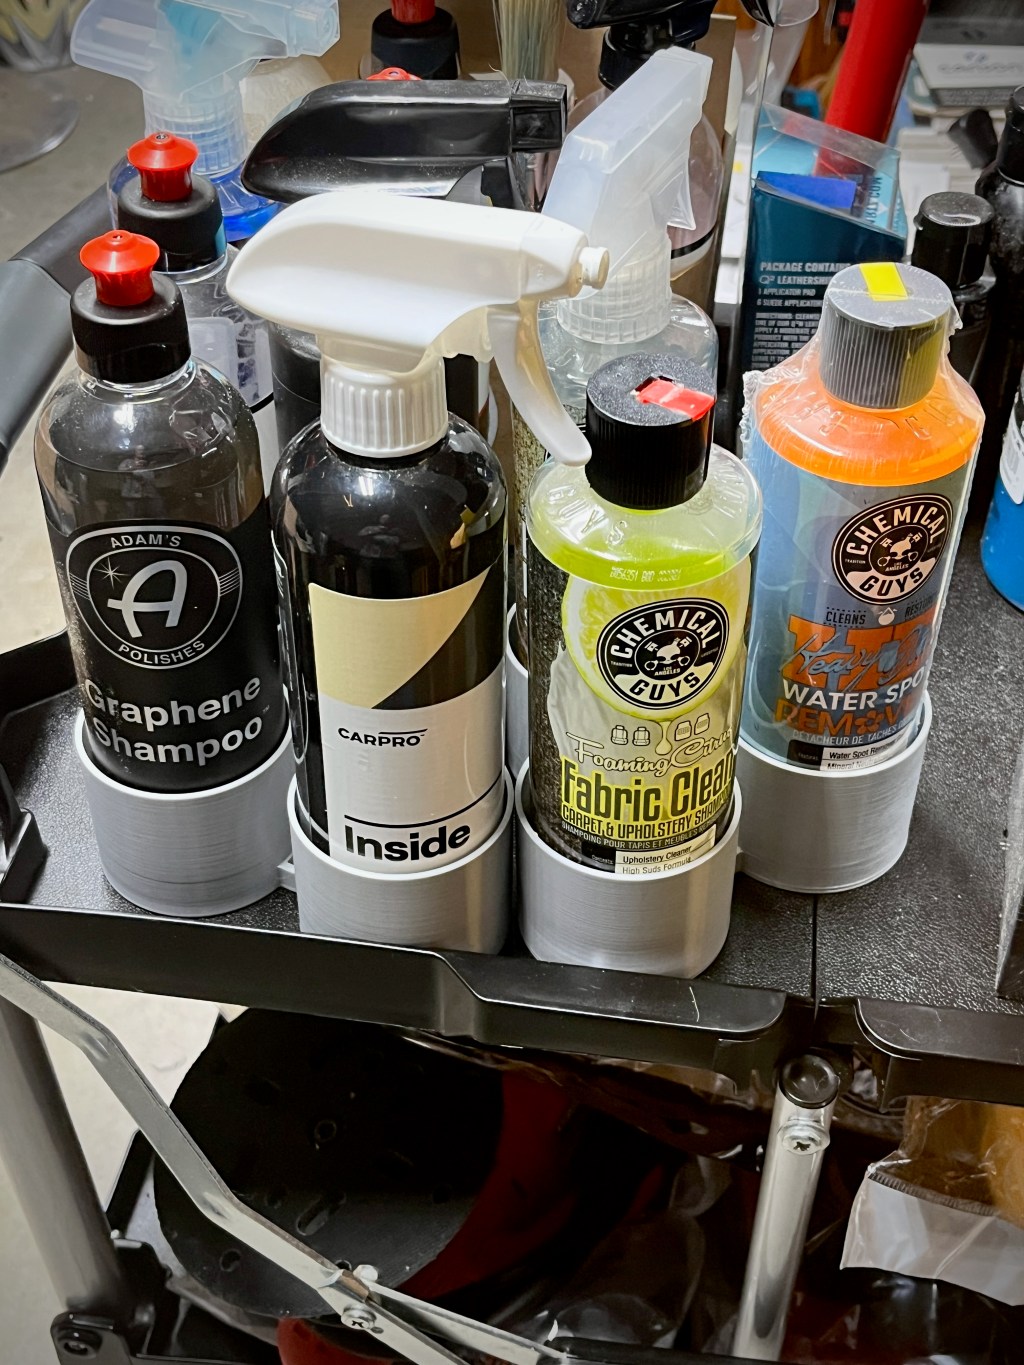
Detailing and 3D printing can work hand in hand for many small but important bits and pieces. You can see in the picture below, I have printed a set of bottle holders. So now, my bottles do not fall over on my mobile cart. They also do not fall off the cart as I move things around. These holders just cost me pennies in plastic (PTEG) and about 2 hours per 3 pack.
🚗 A basic DIY Car Detailing Guide
There are many brands and just as many opinions as to which to use. As a DIY, I recommend choosing a major brand. This choice will help ensure you have an entire ecosystem. Consequently, everything will work together. My two recommendations are Adam’s Polish and Chemical Guys. There are strong opinions on both brands but these brands well known, are easily found, reasonably priced and offer a decent support system for the use of their products. Adams actually has classes at many of their showrooms on detailing that are free.
As you delve deeper into detailing, you might want to experiment. You may also consider using special solutions for specific issues. But that level of commitment and money can wait for a while. *** I do NOT get anything from anyone for these recommendations. Its just my opinion based on a few years of detailing and my own experiences. Your mileage will vary 😀 *****
Step 1 : Always start with a proper wash
Our Goal: to remove dirt without scratching the finish.
What you need
- Car shampoo Normally, I use a stripper wash to remove old wax etc.
- 2 buckets (one soap, one rinse) or one bucket with a no-rinse wash solution
- Grit guards – These help accumulated dirt etc from being embedded into the mitts
- Microfiber wash mitt
- Wheel brush with spray wheel cleaner (iron neutralizer style)
- Microfiber drying towel
- Step stool/ladder
- Work in the shade on cool paint. Water spots can burn the paint in direct sunlight or the solutions can dry far too fast and cause issues.
- Rinse the car thoroughly to remove loose dirt.
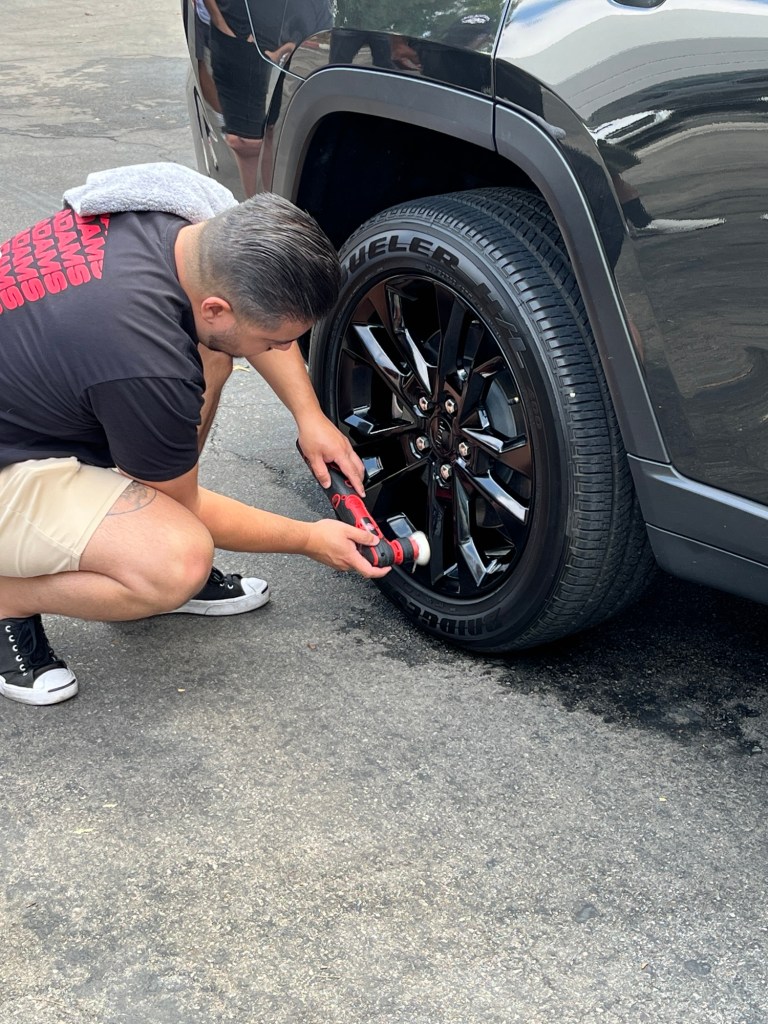
- Wash wheels first (they’re the dirtiest).
- Fill your buckets:
- Bucket 1 = soap + water
- Bucket 2 = clean rinse water
- Wash top → bottom using the mitt.
- After every panel, rinse the mitt in the rinse bucket.
- Final rinse from top down. I use filtered water which wont leave spots when it dries. That is an expensive toy for the DIY detailer.
- Dry with microfiber drying towel or blower. I use a 60 dollar leaf blower that has a soft plastic tip
✔ Tip: Don’t let water dry on the paint. The water spots can burn the paint.
✔ Tip: I use a marine collapsible hose and rubber tipped spray head.
Step 2 : Clay Bar (Decontamination)
Our Goal is remove embedded contaminants (iron, dust, tar, fallout).
You should do this 1–2 times per year and it’s a MUST before applying any type of ceramic coating.
What you need
- Clay bar or synthetic clay mitt ( Big fan of the mitts)
- Clay lubricant or detail spray ( soapy water can work. Just make sure any spray does NOT have any wax, silicon or other chemicals)
- Microfiber towels
Steps
- The car must be freshly washed and dried.
- Spray lubricant on a small section (2 ft × 2 ft).
- Glide the clay lightly across the paint.
- You’ll feel roughness → then smoothness.
- Wipe the area dry with microfiber.
- Fold the clay often to expose a clean side.
✔ Tip: If you drop clay on the ground → throw it away.
Step 3 Polish (Paint Correction) This can be an optional step depending on the condition of the paint and what you plan to do next.
Our Goal is to remove light scratches, swirl marks, and restore gloss.
Only needed once every 1–2 years for most cars. ( or after a ham fisted “detailer” screws up the paint ). If you plan to use a ceramic coating, it’s HIGHLY recommended to paint correct first. Once you apply the ceramic coating, you effectively lock in the swirl marks in the paint. So removing them first is a solid choice.
What you need
- Dual-action ( DA) polisher. I use one from Harbor Freight. Its noisy but it gets the job done pretty well.
- Polishing compound ( polishing , not cutting compound. Cutting a paint job can be tricky and you can quickly ruin a paint job. )
- Foam polishing pad. These come in different stiffness which often relate to a color scheme.
- Microfiber towels
Steps
- Put 3–4 small drops of polish on the pad.
- Work in 2 ft × 2 ft sections.
- Spread polish at low speed.
- Polish the paint at medium speed using slow overlapping passes. It helps to wear ear plugs and to place the extension cord over your shoulder to avoid dragging it on the paint as you move around.
- Wipe residue with microfiber.
- Inspect under good lighting. There are special lights for this type of work but bright light and using angles will show any defects.
✔ Tip: Start with the least aggressive polish first.
Step 4 : Protection (Wax or Ceramic) and this is where there MANY opinions
After polishing, paint/clear coat is bare and must be protected by something or it will oxidize in the air and sunlight. I will list the two common ways which is wax or ceramic coating. If you ask 100 detailers, you will 100 answers as to which is the ‘best’. So I will describe what *I* do and use and you can take it from there.
Realistically, you have two options:
Option A — Wax ( Can be very easy)
Lasts 1–3 months. 1 – 6 months using some of the new hybrids
Common waxes:
- Carnuba
- Detailing Sprays
- Hybrid Wax
- Graphene Hybrid Wax
Just to name a few types. The basic Carnuba has been around for decades and works well but can be a challenge to apply. Most purists use this and resign themselves to a monthly session of self inflicted workouts or therapy depending on one’s point of view.
Detailing sprays are just what it sounds like. An easy way to spray a thin wax as a final or touch up coating for a show. Do not use this for daily use, it just wont last or provide much protection.
Hybrid waxes can be a pretty cool product. I use the Turtlewax hybrid which is a wax plus a “ceramic” coating in one. Its very easy to apply, looks good and will last 3 to 6 months on my outside car. There are many brands but Turtle is what I have settled on for myself and has been tested against many other brands. Check out the Project Farm Video for this.
The new kid on the block is anything with Graphene in it. I have used graphene based ceramic coating and the stuff is just awesome. I have not used the hybrid wax with it very much yet. So in my world, the jury is still out.
Very few of these products work on the plastic trip on cars. In fact, some like carnuba or liquids like Mcguiers can just about ruin the plastic trim by staining/embedding into the plastic and then turning white which never comes out/off. So make sure to read the labels and to mask off trim or be very careful in the application. There are special products for trim protection and restoration. And it’s NOT WD40 or ArmorAll .. ugh.. Again, Project Farm to the rescue.
Option B: Ceramic coating
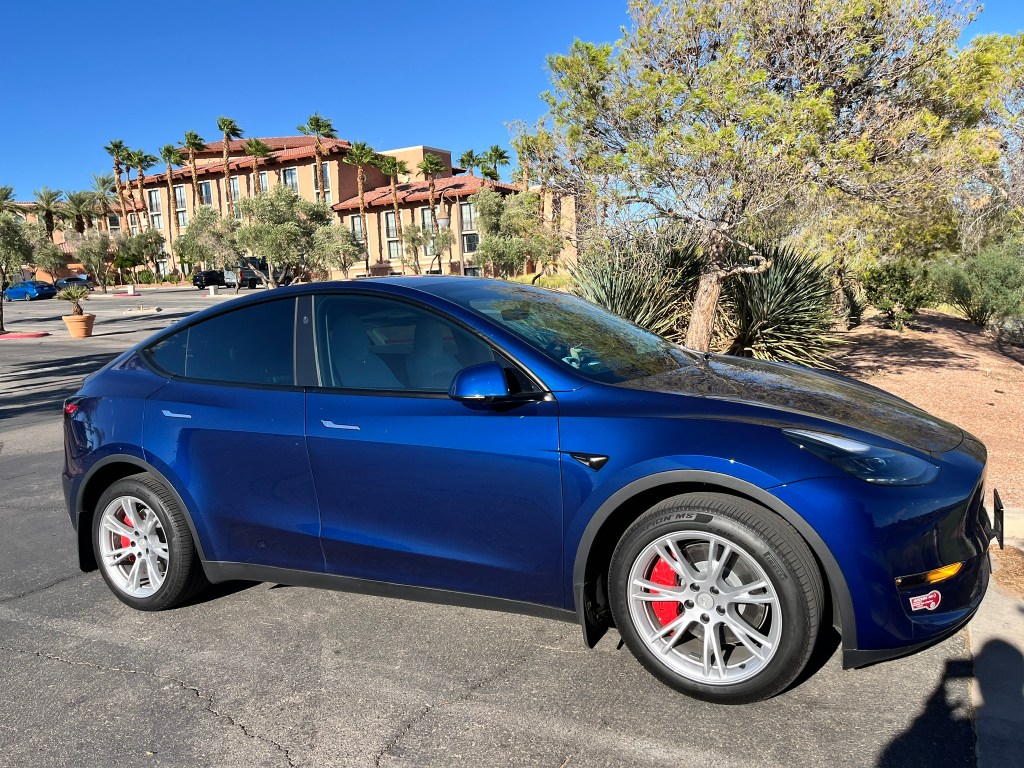
Ceramic coating or silica dioxide or silica dioxide (SiO2) is a wax replacement that when it’s high quality and applied correctly is just amazing to behold. Preparing and applying it requires specific steps. However, it is well within reach of a DIY detailer. The trick is to use a quality product which is not always the most expensive and to take your time. I applied Adam’s Polish Ceramic coating to a Model Y I had owned. The entire process, from washing to finishing up the coating application, took me close to 4 hours. It took another 45 mins the next for a bit of touch up after I went over the coating in the harsh light of day. And the results were spectacular and long lasting. A high quality and maintained ceramic coating can easily last two years on a car that is outside 24×7. This was my Model Y after using Adam’s Polish Ceramic Coating.
There are specific care steps for a car with a ceramic coating but the key step is NO WAX or detailing sprays. Ceramic coating is a semi permanent coating that literally gets into the paint and hardens. The only way to remove it is using a buffer and polishing it off. It will wear off in time which is why need to renew it every couple of years. Putting wax on top of it effectively coats the hydrophobic feature of the coating and gives dirt a place to stick to the paint. Which defeats in large part, why you put it on the car in the first place.
Basic Steps for Wax or Ceramic
- Apply thin layer with foam applicator or special applicator for ceramic coatings.
- Work one panel at a time in small sections
- Let haze for 5–10 minutes or until the ceramic flashes off which can be as fast a min or two.
- Buff off with microfiber towel.
- Ceramic coating should have an overlap of 30-50% between sections.
- Do not wash the car or expose to rain/ heavy dew when applying ceramic coating for one day to three days. Check with the manufacturer.
✔ Tip: Thin coats work best.
⏱ Typical Time Required
- Wash: 30–45 min
- Clay: 30–60 min
- Polish: 2–4 hrs
- Wax: 1-2 hrs
- Ceramic: 1–4 hrs
⚠️ Common Beginner Mistakes
- Washing in direct sunlight
- Using one bucket
- Using dish soap
- Applying too much wax
- Dropping clay and still using it
- Polishing dirty paint
- Applying ceramic coating over dirt. This locks in the dirt

Leave a comment